From Dave Rollans
Category: Technique
Video how-to: Polaroid Spectra double exposures
Works on all Spectra cameras, no self-timer required!
20 steps to ambrotype victory… or: How not to make ambrotypes
Check out Katie Cooke‘s funny ambrotype crash course/primer: 20 steps to ambrotype victory… Or: How not to make ambrotypes at Photocritic.
Image transfers with Fuji peel-apart film
Check out this PDF excerpt of Fuji’s Cable Release newsletter on how to do image transfers with Fuji’s Polaroid-compatible pack films. (Hosted by Freestyle.)
How to get really grainy pictures
Here are some tips for getting more/larger grain in your pictures:
- Push ISO3200 film as far as it’ll go in your developer. As a rule, pushing increases grain.
- Use a high-actuance developer like Rodinal and…
- Agitate the hell out of it.
- Shoot as small a frame size as possible (the smaller the negative, the greater the enlargement factor, and the bigger the appearance of grain). There are several options for sub-"full frame" 35mm: the Olympus Pen series are half frame, and Canon/Bell & Howell made some as well. You can get anything from point & shoots to really sweet SLRs (check out the Olympus Pen F and FT for that, I have an FT and love it).
If you want more cowbell, check out the quarter-frame QuadCam (only $13.95 from American Science & Surplus), or bite the bullet and give those monopolistic rip-off artists at the Lomographic Society way too much money for an Oktomat (1/8 frame) or a Pop 9 (1/9 frame).
There’s lots of info on subminiature cameras at subclub.org.
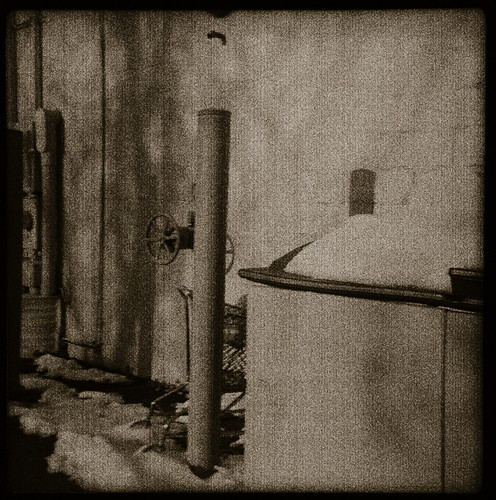
- Cross process color negative (C-41) film in black and white chemistry. Underexposure helps, the only digital manipulation on this was the sepia toning:

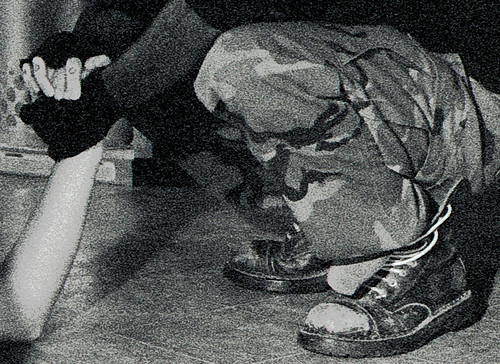
The Depravity of Voyeurism, underexposed [I think it was] Kodak Portra 400VC, developed in Diafine. It’s this grainy on a 4×4cm negative, so a submini would probably be really unbelievably grainy. - Ilford Delta 3200 film processed in Diafine is a particularly grainy combo for me. Here’s maybe 1/5 of a 35mm frame with no manipulation at all:

(Bigger version here)
Insanely covoluted process yields amazing print
Matt Callow made this print with a truly convoluted paper negative/internegative printing process, which you can read about here. Looks like a pain in the ass, but the result speaks for itself.
Strobist’s Lighting 101 now available as free PDF
The excellent lighting site Strobist have released their Lighting 101 guide as a free PDF. Check it out!
What’s Strobist? “Teaching you how to use your small flashes, off camera, to get professional results. Your flash photography will never be the same again.”
Ingenious method for bellows calculations with brass lenses
Brass lens madman enthusiast Jim Galli offered this incredibly useful piece of advice on the Large Format Photography Forum:
Since I almost never use my antiques [lenses] at infinity, (they are usually approaching 1:1 for a portrait) I make my waterhouse stops to “known’s” like 1 inch or 30mm. Then I measure the distance from stop to ground glass and divide a whole number. ie. a stop is a 1 inch hole. I measure the bellows at 22″, I’m at f22. The bellows is stretched out to 32 inches, same lens same stop, f32. No other calcs needed. Reciprocity still needed sometimes of course, but none of the bellows factor gymnastics.
Very smart!
You can see Galli’s work at his Web site, tonopahpictures.0catch.com.
Solarizing developer
Solarization is overexposure to the point of tonal reversal, where areas on the film that would be totally black (the sun, for example) start to get lighter again. You can achieve the same thing printing in the darkroom by turning on the lights during developing. (Technically doing it in camera is called soliarization and in the darkroom it’s the Sabatier Effect, but the terms are used more or less interchangeably.)
I thought that was it, until Tom Persinger of f295 pointed me to this article by Ed Buffaloe at Freestyle—it turns out you can do it chemically with thiosulfate developer.
Includes recipe and examples.
Heat-damaged film examples
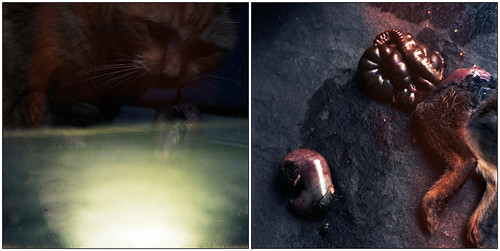
Heat fogs film and creates other "interestingness", which is why most people store it in the fridge or freezer (but don’t freeze Polaroid!). It’s impossible to predict exactly what will happen to any given roll of film, so don’t mistake this as a "this is what you’ll get if you take this emulsion and expose it to this amount of heat" reference. It’s different every time, this is just meant to show some of the different effects I’ve run into. Most of these are from a bag of rolls I left in a hot car in summer: same conditions, many of the same emulsion even, different results.
Kodak Portra 400UC 120 in a Holga left out in hot summer sun for about an hour, after which the camera was hot to the touch. This is the frame that was advanced, ready to be shot, and therefore got the most heat exposure. Curiously, the rest of the roll seemed unaffected.
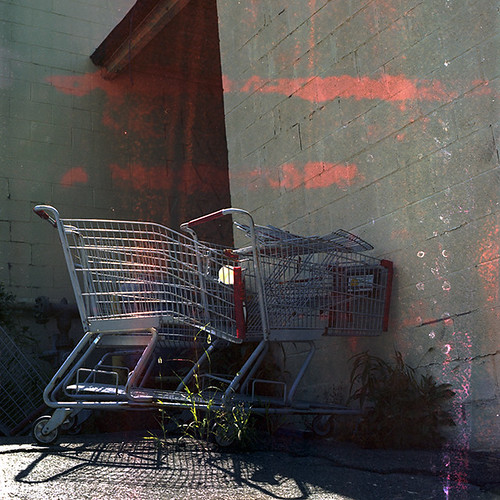
The distinct red spots are from the heat and the vertical line of white spots is chemical residue from crappy processing. From here on out, the film was left in a hot car, not sure for how long.
Less-defined red areas. Kodak Portra 400VC, 120.
Mottling. Kodak Portra 400UC, 135.
Blue edge. Kodak Portra 400VC, 120.
Rusty swath. Kodak Portra 400VC, 120.
Rusty swath and mottling. Kodak Portra 400VC, 120.
More examples in the Heat-Damaged Film group on Flickr.


