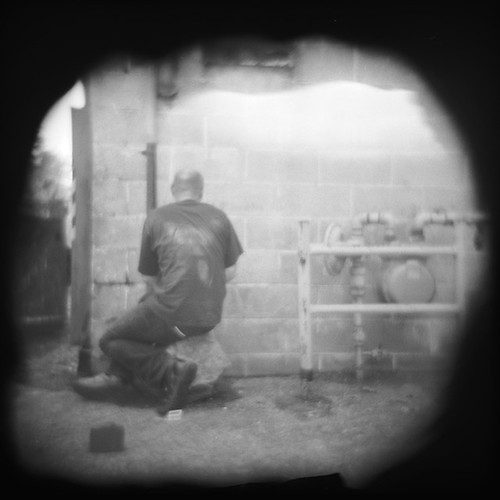
Tin-foil-lined Holga

Ever wonder what happens when you line a Holga with aluminum foil? Me too!

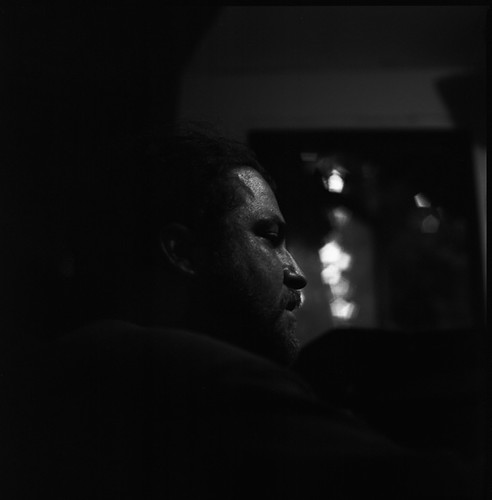
I crinkled the crap out of it to hopefully get lots of light bouncing around in different directions, and lined the camera, shiny side out. The irregular vignette is because I wasn’t very careful about leaving the edges of the light path clear.


The Briggs in its natural shooting environment


I expected the lowered contrast, but was thinking I might get some random specular-type highlights. Nope. Of the whole roll, this is the only frame that had a visible artifact (the white wavy form near the top). But this does show that you can easily control the shape of your vignette, just take the back off and put some crap around the square hole you can see the shutter through.

If you care, this is Kodak T-Max 100 developed in Diafine.
Bizarre cross procesing technique: film accelleration

Cross processing is developing film in the "wrong" chemistry, for example shooting slide (E6) film and processing it in the chemicals meant for colour negative (C-41) film. This is normally what’s meant when people say cross processing, but it can go in almost any direction. You can also do C-41 film in E6 chemistry, or any film in B&W chemistry. The only thing you can’t do is B&W film in colour chemistry, because the bleach leaves you with a blank roll.

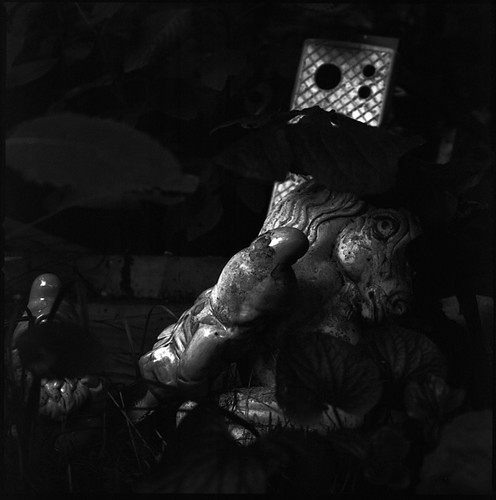
Apparently "film acceleration" is a bit more complicated, and sounds a lot like something called the "Henry Beck process" that the owner of my local lab told me about (and I can find absolutely no information on anywhere). Instead of a simple chem switch, this is: underexpose slide film, pre-soak, soup in B&W developer, wash, fix, wash, bleach, C-41. Yeow! But the results do look unique.

Read the how-to, with sample images, at JPG Magazine.

Flickr member pochedunfou also has a large set of accelerated photos, which serves as an excellent reference of the effect across a number of different emulsions of varying age.

Update: pochedunfou pointed me to the Be Great: Accelerate group for the technique on Flickr. Cool!

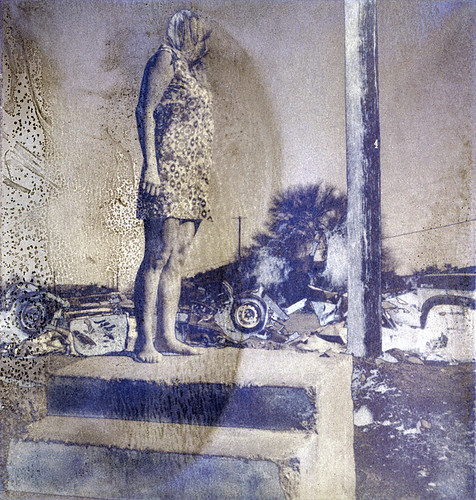
Peeling Daguerreotype on silvered glass: WOW!

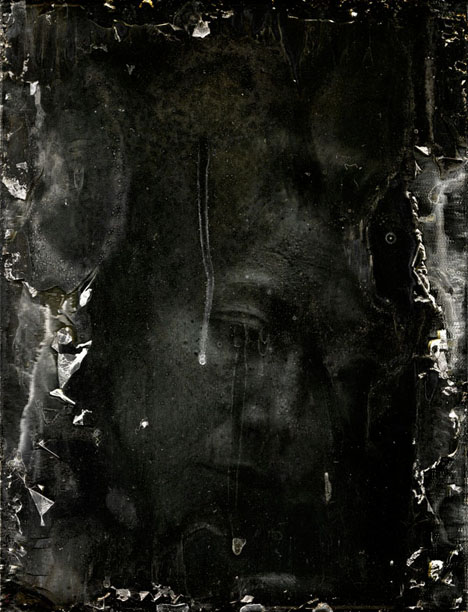
Peeling Daguerreotype by Jason Greenberg Motamedi

Look what happened when Jason Greenberg Motamedi tried making a Daguerreotype on silvered glass! He says:

I made a few marginally successful Becquerel plates last year using silvered glass, however something about the traditional method (perhaps the heat of the Mercury?) caused much of the silver to flake off in the fixer.

Yes! Beautiful! Long string of positive expletives!

You can see more of his work at his Web site, motamedi.info, and at his excellent Daguerreotype blog, daguerreotypy.blogspot.com.


Further reading: Motamedi’s Brief Guide to Becquerel Daguerreotypy, The Daguerreian Society.


Photo © copyright 2006 Jason Greenberg Motamedi. Used with permission.

Shooting with a tilted lens element, and the challenges of barrel lenses

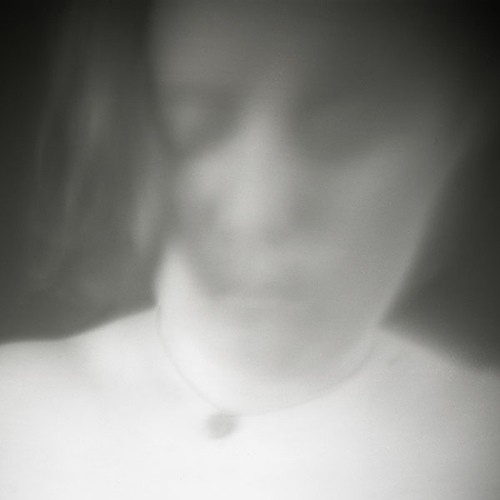
Portrait made with tilted lens element

This is what happens when you tilt not the whole lens, but one element of one. I used an 1800s Darlot brass lens with three elements (probably meant to cover half plate as it vignettes on 4×5) with the middle one tilted. On this type of lens it’s common, at least among the ones I have, to get a sharp area in the middle with the focus getting softer as you go farther from the centre. With the tilted element, there was no sharp area at all, just this soft distortion.

Old brass lenses can often be had very cheaply. Most of them were made in the late 1800s and early 1900s, and were hand-polished, so they’re much more irregular than a lens produced with modern manufacturing techniques. These irregularities are really interesting to me, particularly the bits around the edges where the image circle falls apart.

Shooting these things is a bit challenging today, though: they were made a time when everyone was shooting SLOW glass plates, so they’re not mounted in shutters; the shutter times were long enough that you could simply block and un-block the lens with your hand or the lens cap to make the exposure. Many of them don’t have adjustable apertures at all. Some have slots for Waterhouse stops, which are metal tabs each with a different sized hole cut in it, but many don’t even have that, just a single, wide-open aperture. Often this is between f/4 and f/8. If you do the exposure math, you can see that you need a fast shutter time to use them in daylight, even with film that’s slow by contemporary standards. If you’ve got an f/4 lens and ISO 50 film in sunny 16 conditions, that’s 1/800 of a second, which is way too short to accurately time with your hand. You can get pneumatic packard shutters to use with them, but they have rather unpredictable speeds that top out at about 1/25. Not gonna cut it.

So what to do? There seem to be four choices (okay, five… for the daring, there’s the Jim Galli shutter for barrel lenses):

Have a slot cut and a set of Waterhouse stops made. I’d rather shoot these things wide open to get the maximum amount of funk the lens has to offer. If I wanted to stop down and get a sharp image, I’d just shoot a modern lens and wouldn’t bother with the hassle. It’s also expensive.

Shoot a really, really slow emulsion, like collodion or photo paper. I would love to shoot collodion, but it’s a slow process that seems almost insane to attempt in the field. Brilliant for some stuff, a train wreck for others. Paper is cheap and easy to handle, but is very contrasty and therefore not always great for direct sun.

Shoot in really low light. That’s what I did for this one, I was in a room lit by two shaded 40 watt household bulbs. This gives you a long enough shutter time, measured in whole seconds, that you can reasonably time it with your hand or a lens cap. It works, but isn’t the most versatile setup.

Stack a heap of ND filters in front of the lens, blocking enough light that you slow the shutter time down enough that you can use lens cap again. It will probably be a bit of a pain to work out a system that works with a variety of lenses for a reasonable price, but this is what I’m going for.

I’ll be posting on my progress as I go.

Adventures in year-old DIY C-41 chemistry

See what happens when alspix—the man who brought us the now-legendary matchbox pinhole camera—processes film in year-old, over-used C-41 colour negative chemistry from a DIY kit. The results are surprising!

Read about it at Alspix Stuff.

He used this Nova C-41 kit, which is available in the UK. For those in the US, check out the variable time, variable temperature Arista quart and gallon C-41 kits, as well as pint, quart, and gallon E-6 (slide/positive/reversal) kits from Freestyle Photo.