Two new step-by-step how-tos have been posted at Alternative Photography:
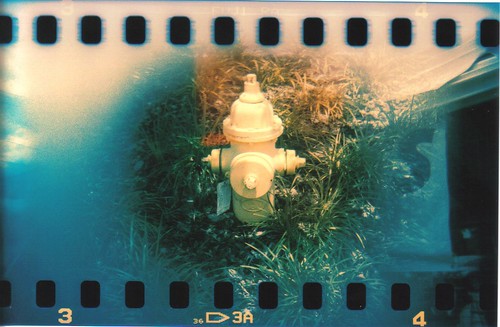
An introduction to Polaroid 600 and image film manipulations
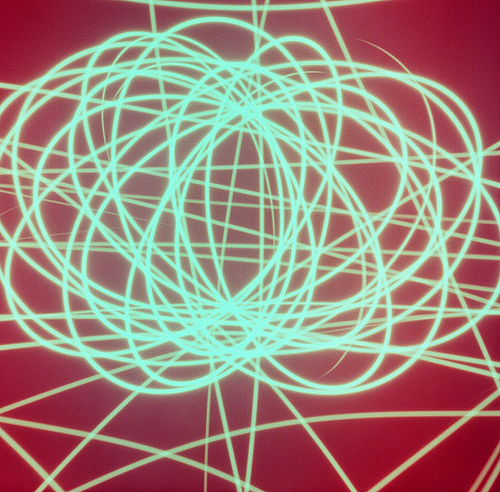
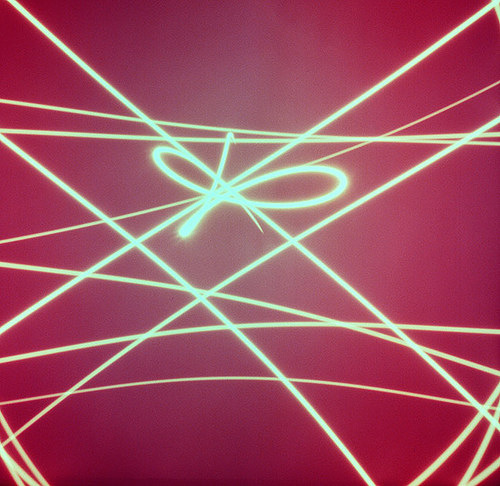
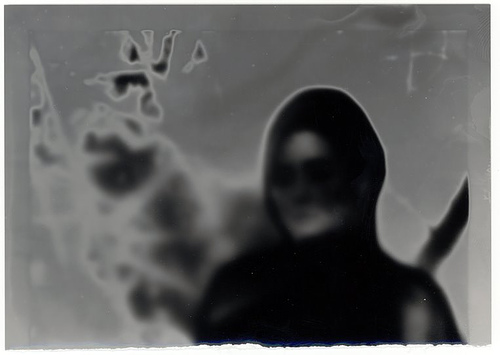
Indirect Low Light Polaroid 600 Photograms
Both were written by Jenelle Norris, whose work you can see at her web site and her gallery at AlternativePhotography.com.